Part No. 16010
|
Part No. 16010
|
|
Part Number |
Part Name |
Qty |
Remark |
|
A1 |
Gun barrel extension |
1 |
|
|
A2 |
Recoil Gear Rock |
1 |
|
|
A3 |
Recoil Servo Gear |
1 |
|
|
A4 |
Cradle |
1 |
|
|
A5 |
Cradle Elevation Gear |
1 |
|
|
A6 |
Servo Elevation Gear |
1 |
|
|
A7 |
Elevation servo stand |
1 |
|
|
A8 |
Elevation servo fixture |
2 |
|
|
A9 |
Tunnion L and R |
2 |
|
|
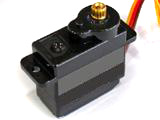
S1 |
Metal gear servo bag with screws for gun recoil
|
1 |
|
|
S2 |
Metal gear servo bag with screws for gun elevation
|
1 |
|
|
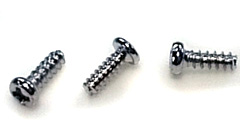
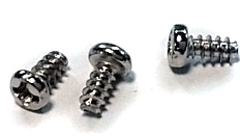
MA1 |
2mm *6 PB Tapping screw
|
8 |
|
|
MA3 |
2*6mm KB Tapping screw
|
6 |
|
|
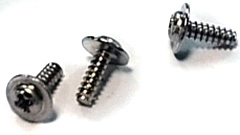
MA4 |
2*8*5mm PWB Tapping screw
|
2 |
|
|
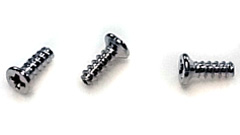
MA6 |
3mm *8 PB Tapping screw
|
6 |
|
| MA9 |
2*6*5mm PWB Tapping screw
|
2 |
|
Before Assembly
Please to read "How
to work with 3D printed parts" and to clean and trim parts.
|
|
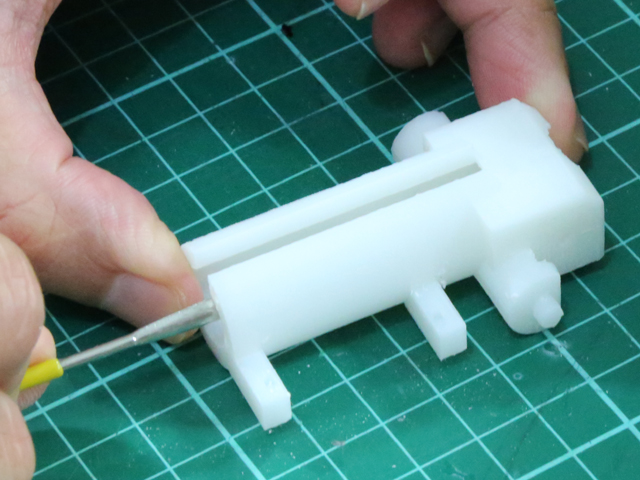
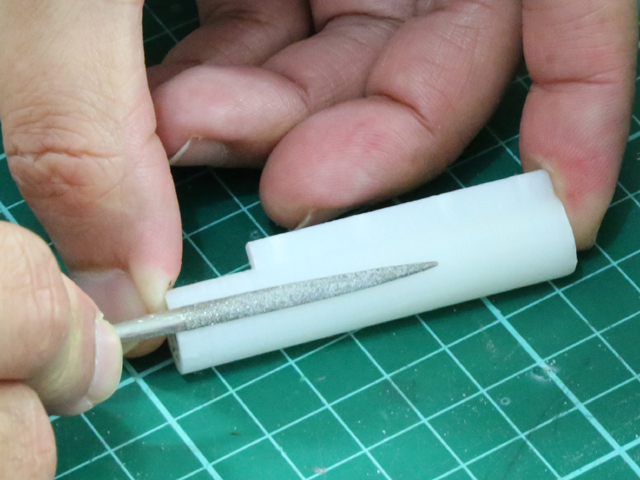
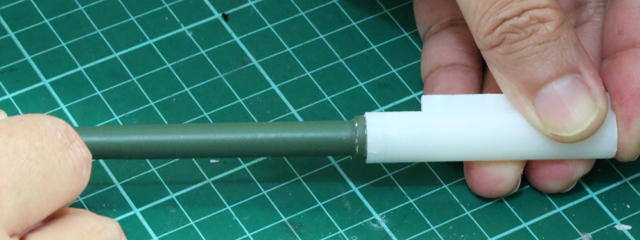
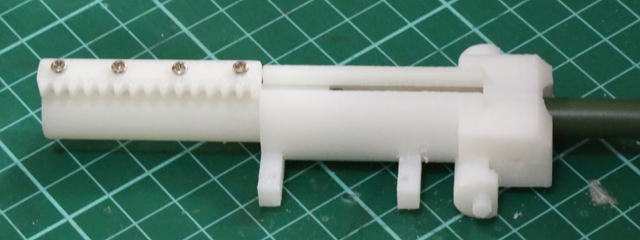
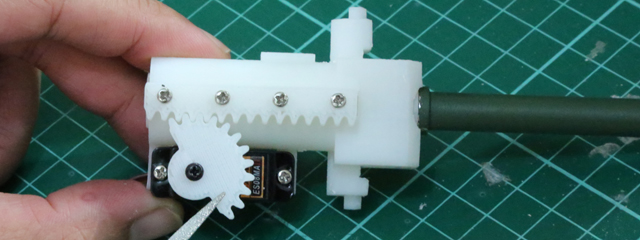
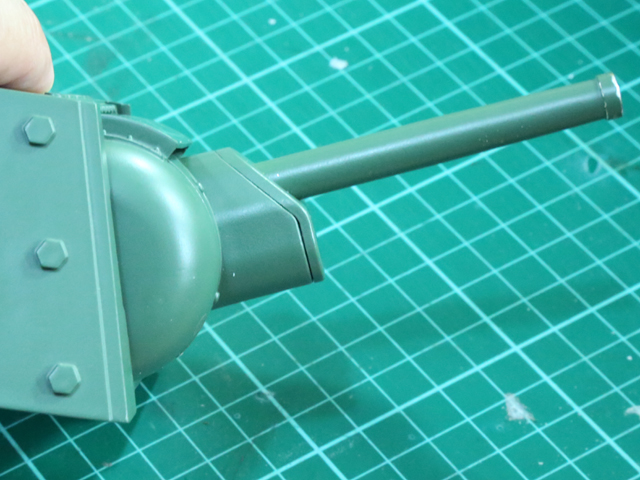
Gun Recoil Smooth inner surface of A7 for barrel movement.
Smooth surface of gun barrel extension too
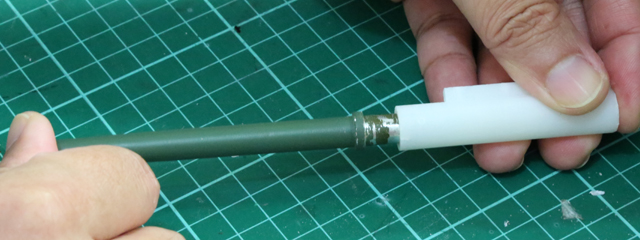
Push metal gun barrel to extension with force, no glue is need.
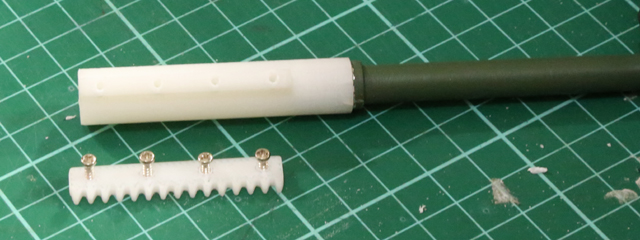
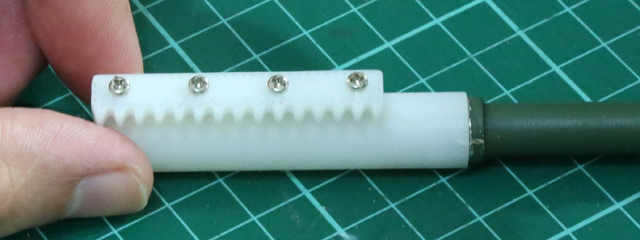
Bolt gear rock to barrel extension with MA1
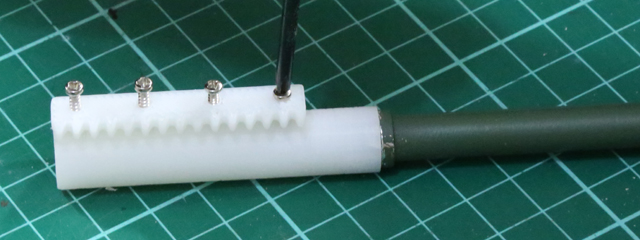
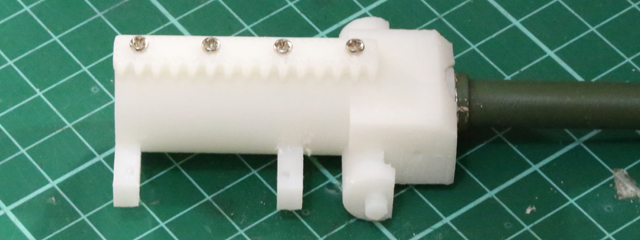
Insert barrel assemble to cradle
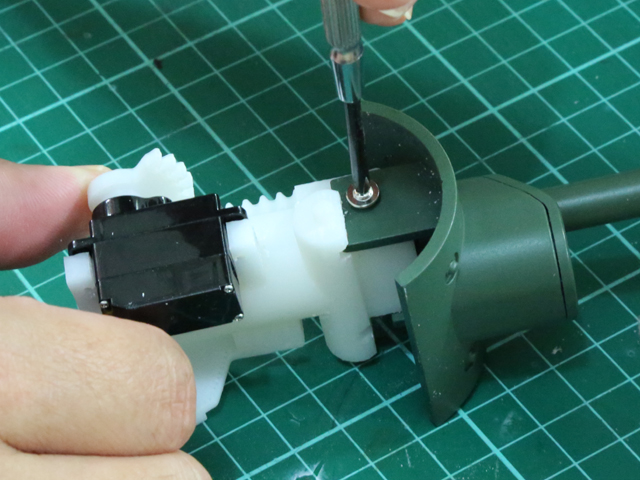
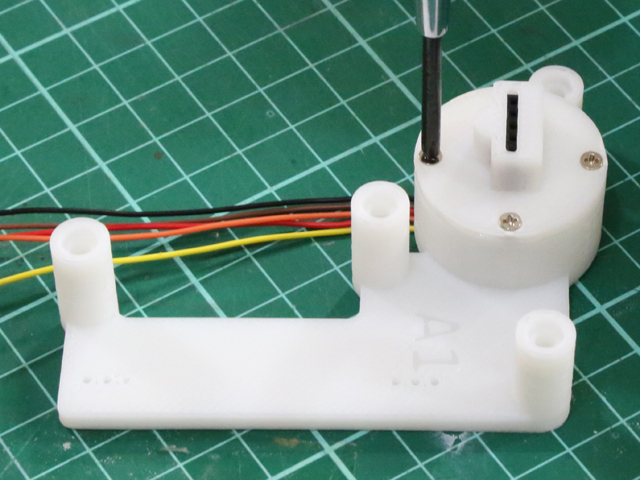
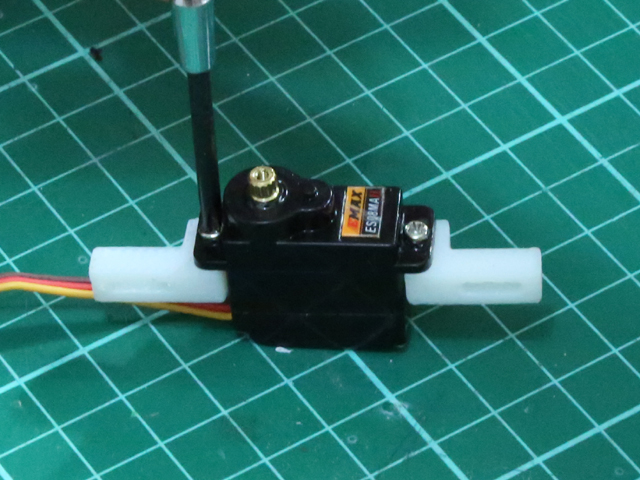
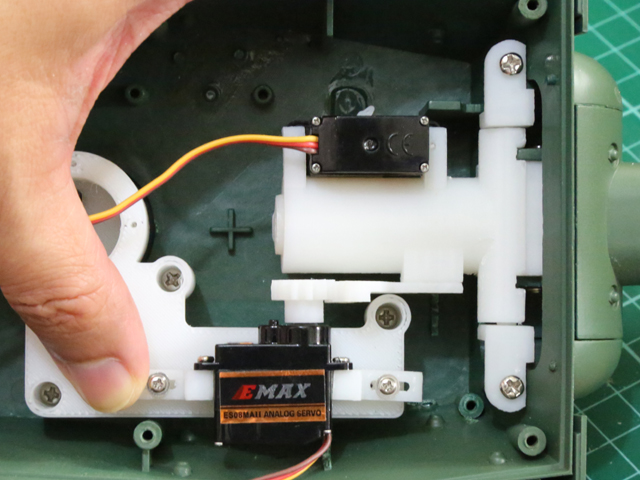
Bolt servo with MA1 screw
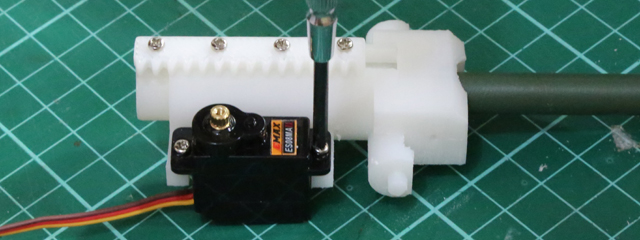
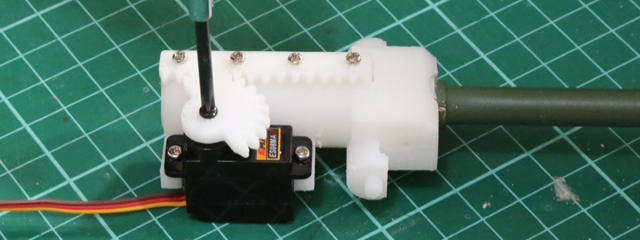
Connect servo to TK22 to set servo to normal position then bolt servo gear with the black screw in servo accessory bag
Note the angle of servo gear
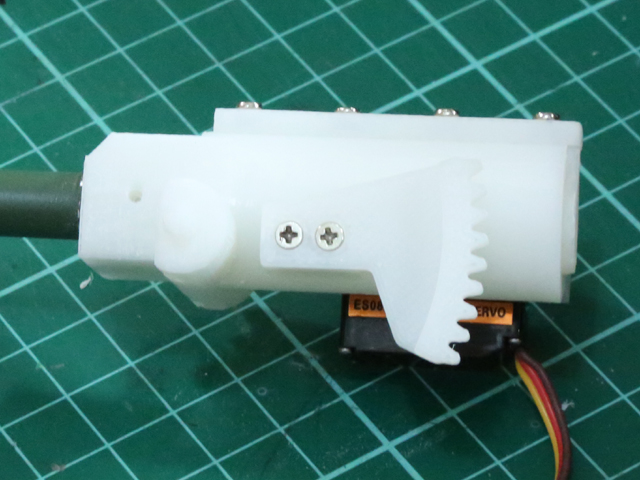
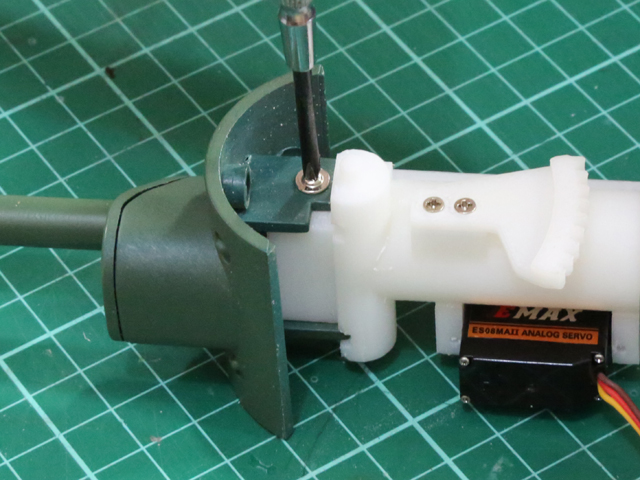
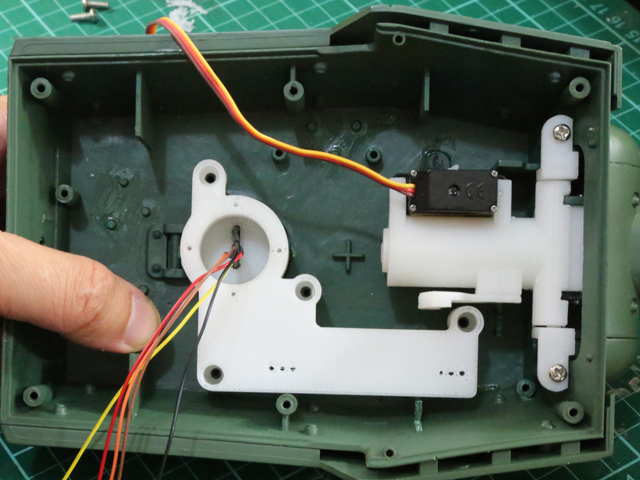
Bolt elevation gear with MA3 screw
Insert mantlet
Bolt mantlet with MA9 screw
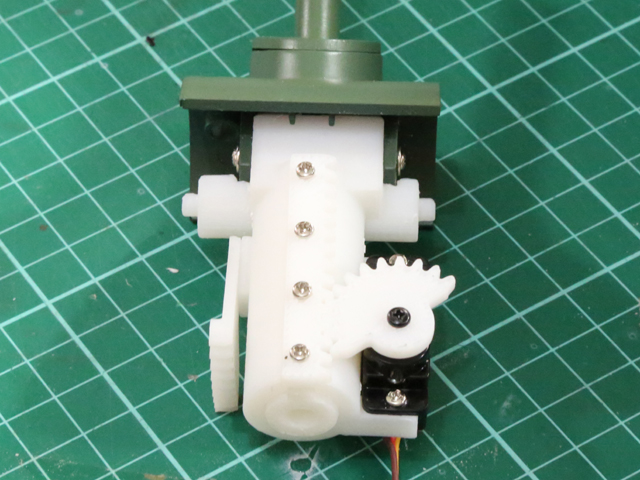
Completed recoil assembly
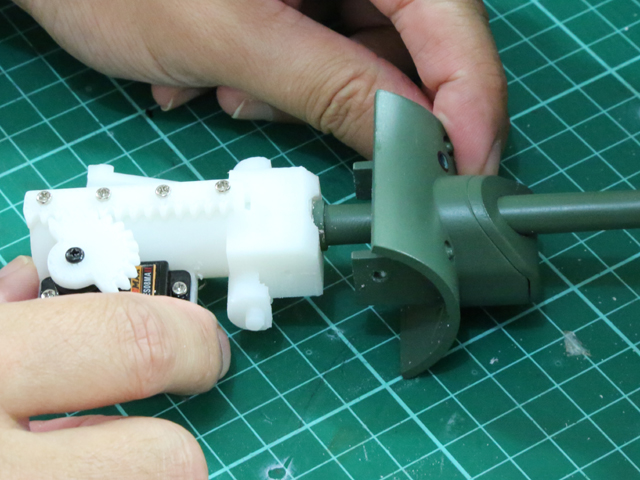
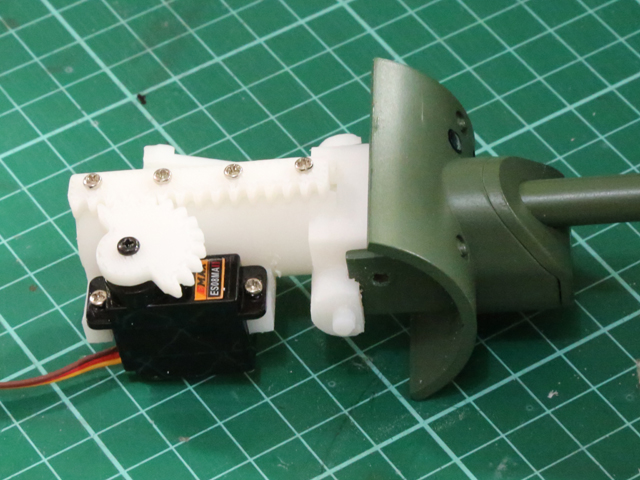
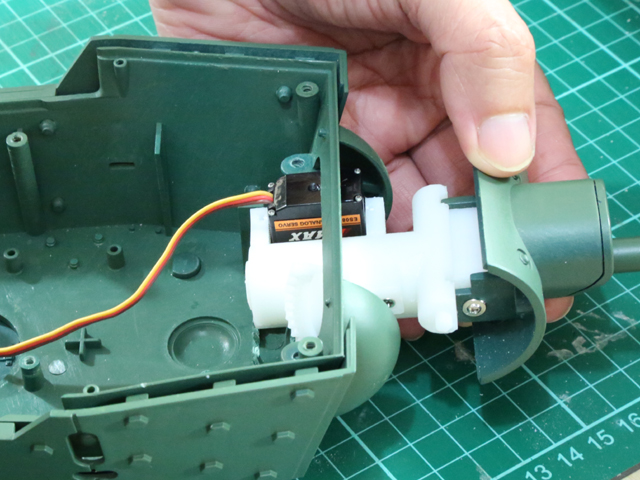
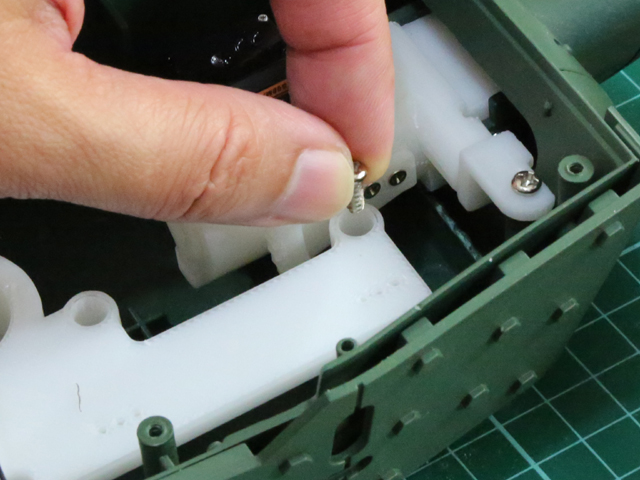
Remove some internal structure in upper turret
Insert recoil assembly
Insert MA6 screw to Tunnion L and R
Fit tunnion on both side, note the direction of tunnion
Bolt tunnion
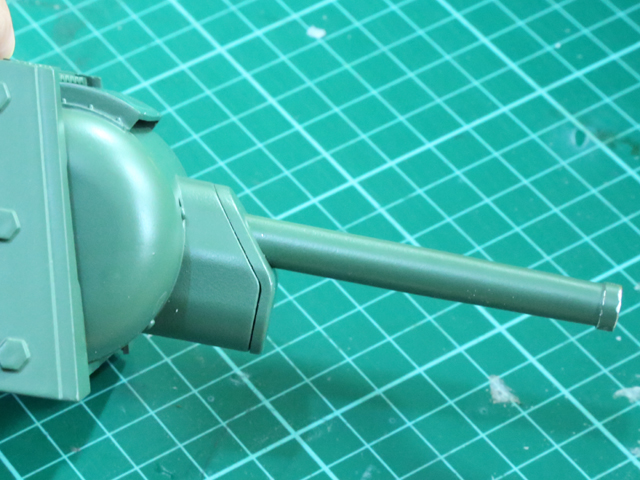
Now the gun can elevate and depress correctly
(Optional)Fit TBU base to elevation servo stand with MA3*4
Fit to upper turret
Bolt it with MA6*4
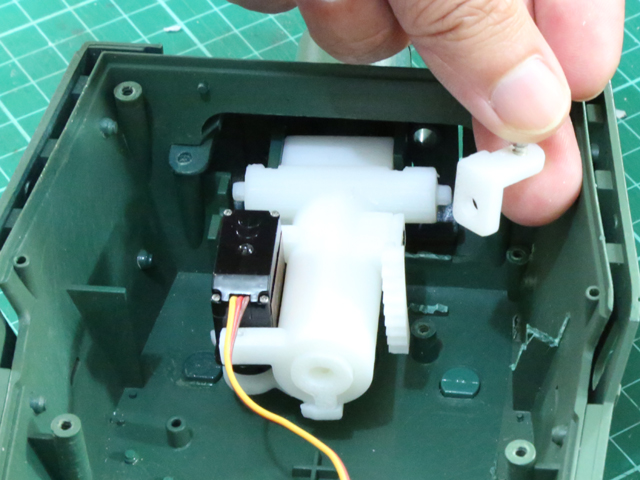
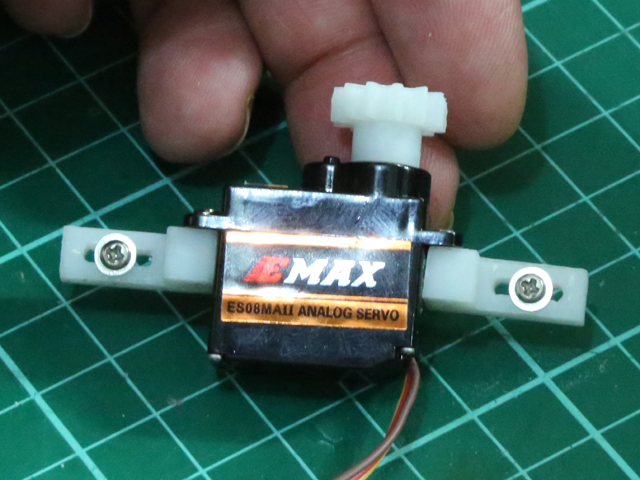
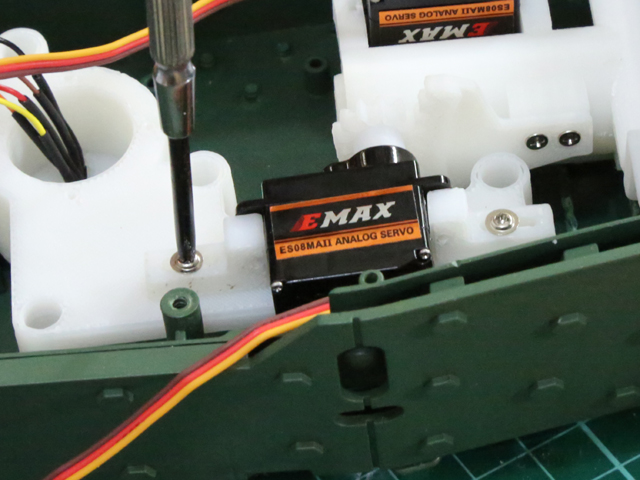
Fit elevation servo fixture with MA1
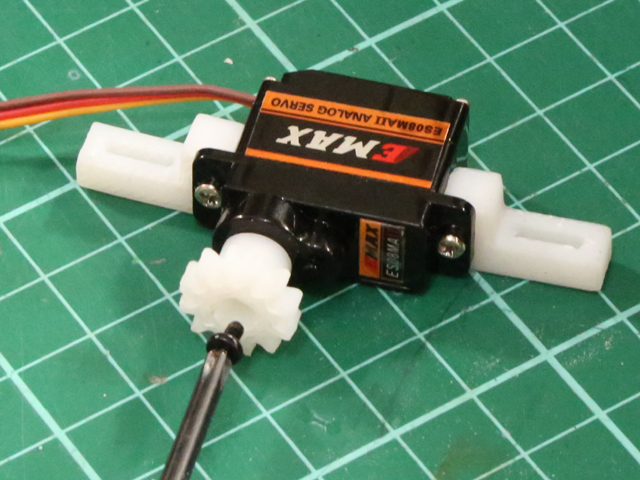
Bolt servo gear with the black screw in servo accessory bag
Insert MA4 screw to the slot on servo fixture
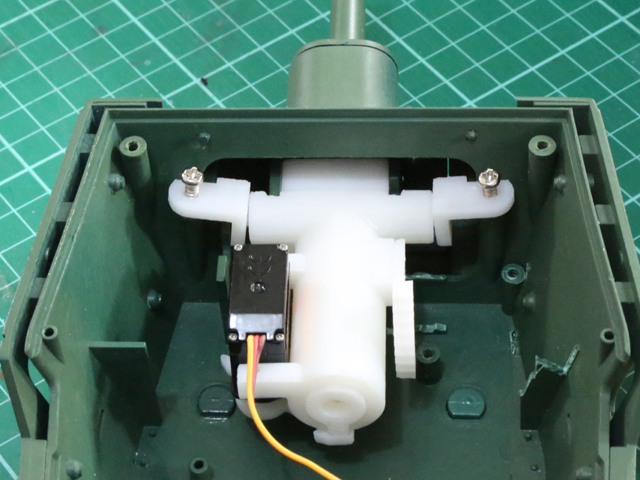
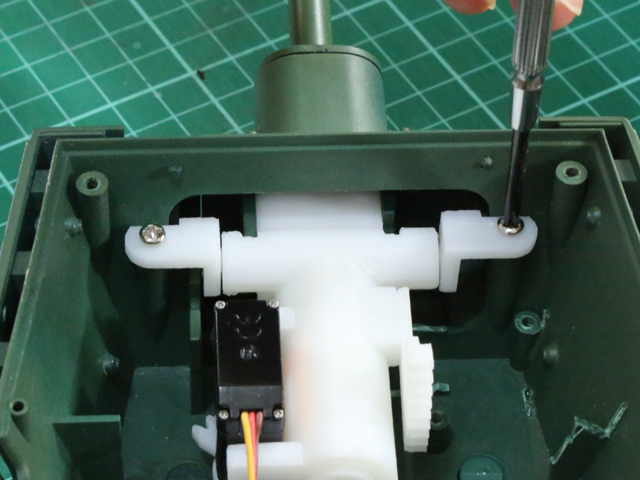
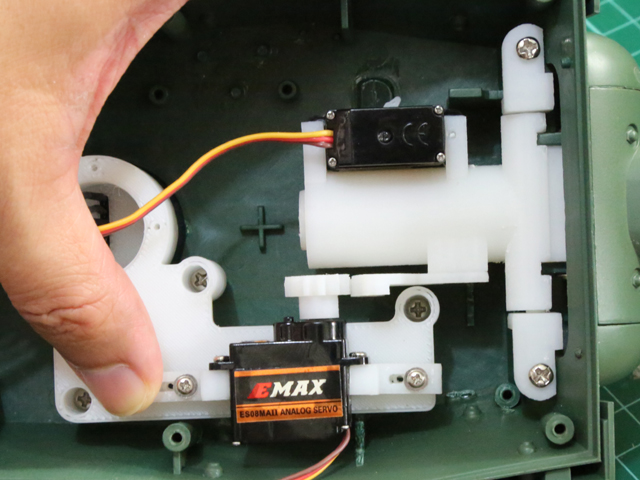
Fit elevation gear assembly to the stand
Connect servo to TK22 to set servo to normal position then tight the screw to fix
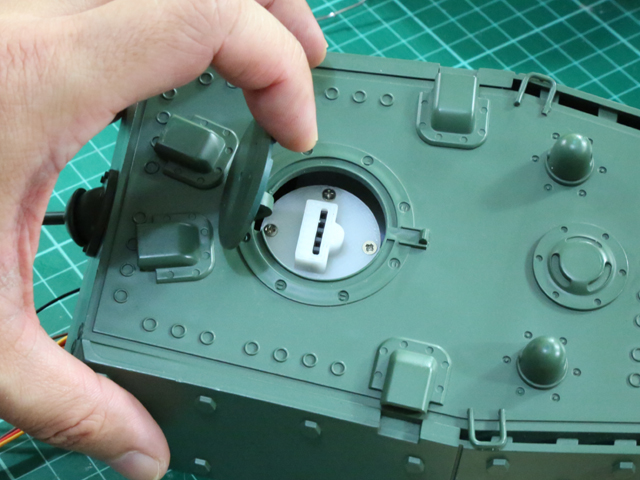
Put lower cover back and bolt it
Open the hatch, can see the TBU base, done!
|